Using WHM, you can reset cPanel passwords for your clients on your dedicated server. You can also allow the cPanel password to be reset by the users after enabling the option in the Tweak settings of WHM (note: Making a Tweak Setting change requires root access). This tutorial will guide you through the steps for both options regarding the cPanel password reset.
Using WHM to reset the cPanel Password
- Log into WHM as the root user.
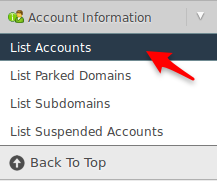
- Search for List Accounts in the menu located in the lefthand column of the screen. It will be under the section labeled Account Information. Click on List Accounts.
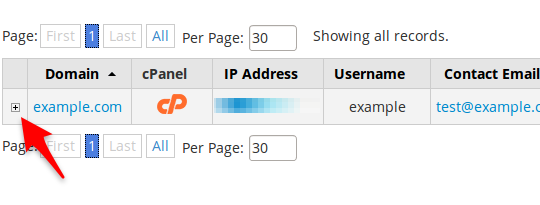
- You will see a plus (+) sign in the left column next to each cPanel account that was created on the dedicated server. Click on the + sign.
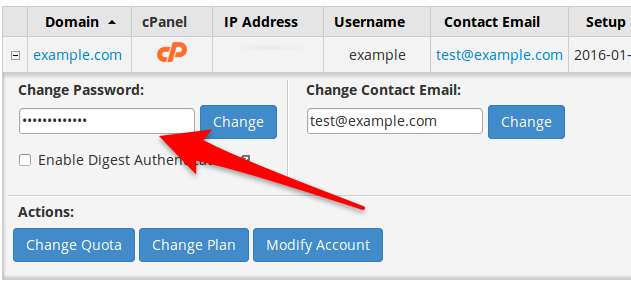
- You will see a Change Password: field appear under the domain name.
- Type in the new password for the cPanel account
- Click on the blue Change button to the right of the password field to save the new password.
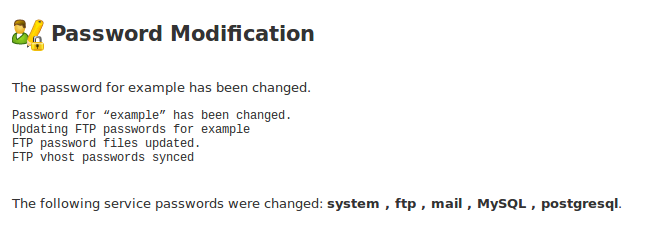
- WHM will provide a confirmation of the changed password. Make sure to notate the change and provide it to the appropriate account owner as necessary.
- You can use this option with WHM to change passwords for cPanel accounts to prevent access, or to change the password out of a concern for security.
Enabling the Password Reset by Users Functionality
NOTE: In order to make changes in Tweak Settings you will need root access. Root access is included (at no extra charge) with our Dedicated Server, VPS, and Reseller VPS Hosting plans.
- Log into WHM.
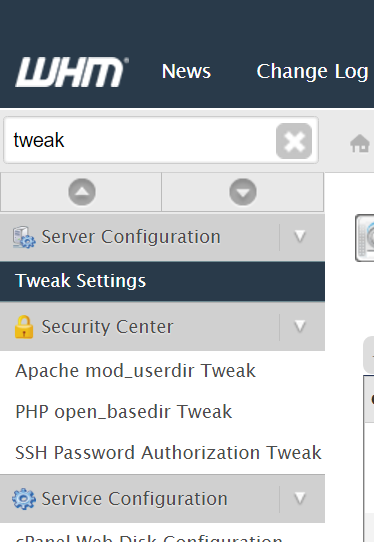
- In the left-side menu, pane search for Tweak Settings and click on the option once displayed.
- Scroll down until you find Reset Password for cPanel accounts and set the radio button to On
- Scroll to the bottom of the page and click Save.
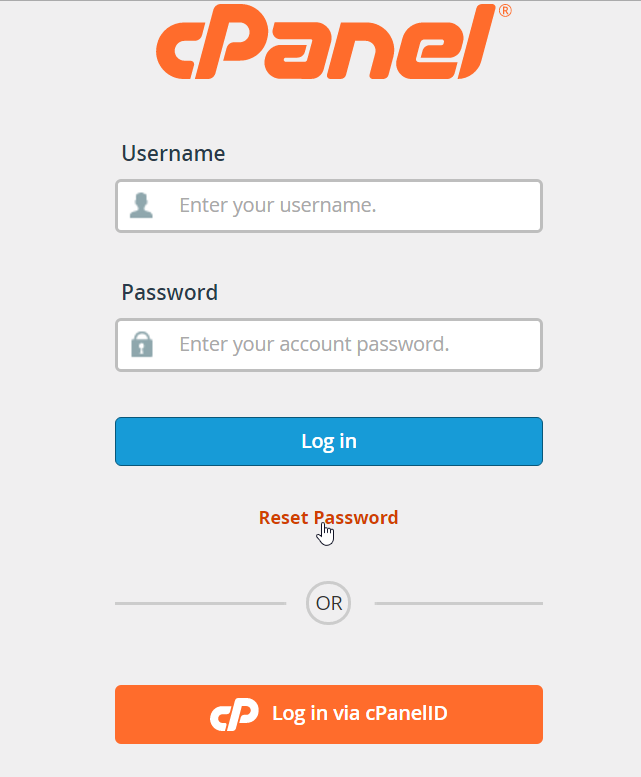
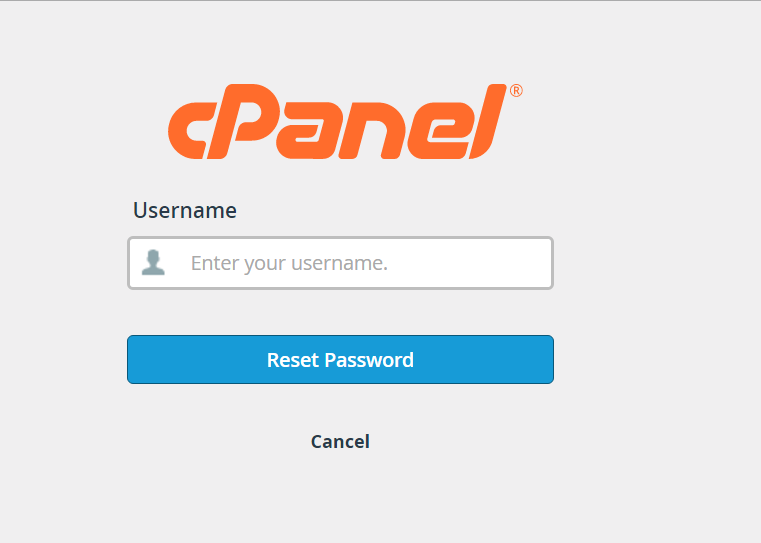
At this point, the option for cPanel users to reset their own passwords will be available at the cPanel login screen.
Now, cPanel users on your dedicated server can reset their own passwords without having to contact you.
Learn more about managing cPanel with our Managed VPS Hosting Product Guide.


Comments
It looks like this article doesn't have any comments yet - you can be the first. If you have any comments or questions, start the conversation!