WordPress plugins are the source for many capabilities that WordPress does not normally support. These add-on programs can unfortunately also cause problems with the typical WordPress installation. They may cause an issue that will stop the WordPress Administrator from loading so that you are unable to disable them through the normal interface. The following article discusses how to troubleshoot WordPress plugins without access to the WordPress Administrator.
Resolving WordPress Plugin issues without access to the WordPress Admin
- Login to cPanel
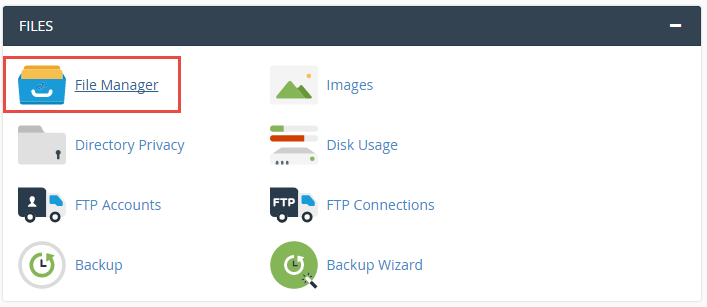
- Under the Files Section, click on File Manager

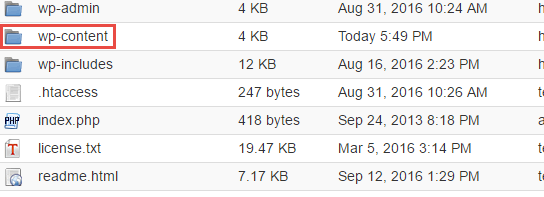
- Locate your WordPress installation files, then navigate to the WP-CONTENT folder. Double-click on it to open it.

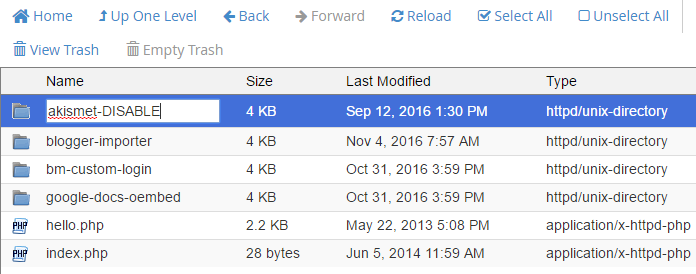
- Right-click on the plugins and then rename the entire plugins folder to something like “plugins-old”. This folder is in the wp-contents folder of your WordPress installation. You will need to use the File Manager in cPanel or a FTP client in order to rename the folders. The screenshots show these steps using the cPanel File Manager. This disables ALL of the plugins.

- Re-load your WordPress page. If your page loads, then the problem is most likely a loaded plugin. You should be able to login to your WordPress admin at this point.
Disable WordPress plugins one at a time
You can disable the plugins one at a time by simply renaming each plugin folder in the WP-CONTENTS/plugins folder. The instructions below use the cPanel File Manager for this task.
- Login to cPanel
- Under the Files Section, click on File Manager

- Locate your WordPress installation files, then navigate to the WP-CONTENT folder. Double-click on it to open it.

- Double-click on the PLUGINS folder in order to see its contents.

- Right-click on the plugin file name in order to re-name it and thereby disable it.

- Continue to disable each plugin by renaming the folders until you have isolated the plugin that is preventing your WordPress site from loading. When you are able to login to your WordPress Administrator, you will need to rename the plugin folders back to their name. In the WordPress Administrator you can re-activate each disable plugin after each folder has been renamed.
Once you find the problem plugin, you can elect to re-load it, update it, or delete it. WordPress plug-ins are written by third-party developers and we cannot provide direct support for them, not to mention that there are thousands of them. So it would be very difficult to provide coding support that you would need for some problems. Therefore, we do recommend you contact the author of that plugin. They will be able to provide the information that you need. The main result of troubleshooting the plugins in this manner is to regain access to your WordPress Administrator.
I love you! Thank you very much!