The Gutenberg editor, also known as the WordPress block editor, allows you to create and manage content via self-contained blocks. If you would prefer to use the classic WordPress editor, there’s an easy way to do that. In this article, you’ll learn how to disable the WordPress block editor in two different ways.
- Disable blocks with classic editor plugin
- Using the classic editor
- Disable blocks with classic block
- Classic editor in practice
Disable WordPress Block Editor With Classic Editor Plugin
Follow the steps below to install the classic editor plugin:
- Log into the WordPress Dashboard
- Click Plugins
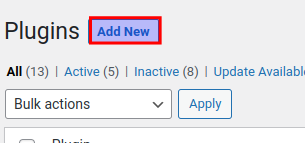
- Click Add New
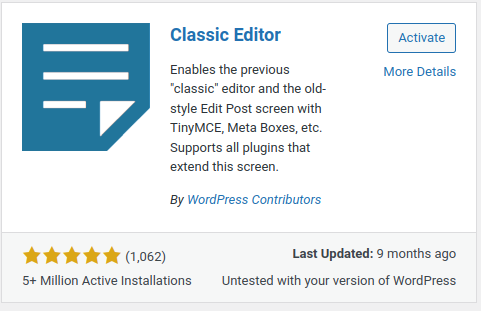
- You may see classic editor as a the first option, if so, click Activate
Using The Classic Editor
Once you have installed and activated the classic editor plugin, that’s all you have to do. You will notice when editing a post (or creating new content) that the Gutenberg editor has been replaced by the classic interface.
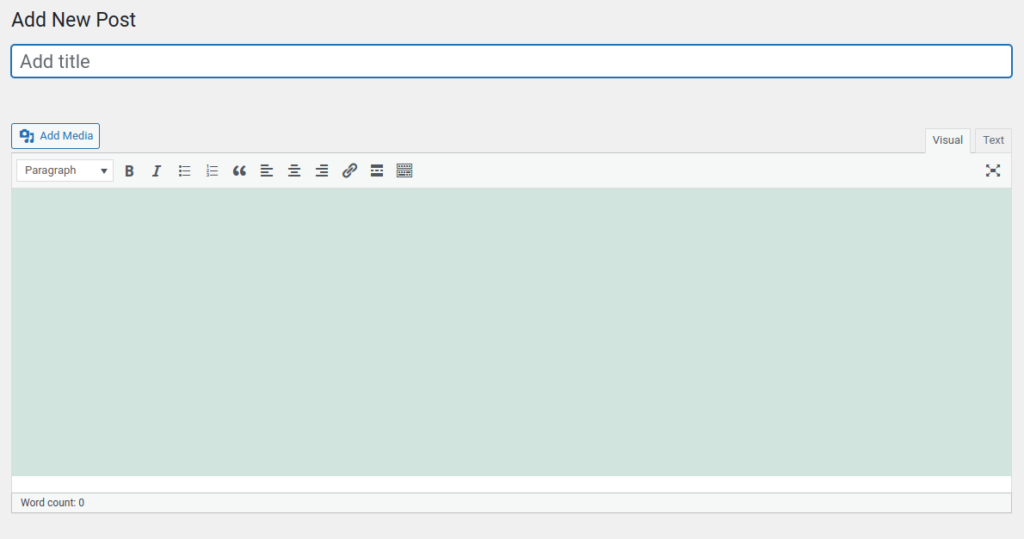
All previous posts and pages will have automatically converted to the classic editor. However, you will notice, if you ever switch back to Gutenberg, that posts created with the classic editor will be in a classic editor block. Learn more about using the classic block below.
Disable Blocks With The Classic Editor Block
Installing the Classic Editor plugin is not the only way disable blocks. You can also opt to use the classic editor block.
- Log into the Dashboard
- Create a new post or edit an existing post
- Use the + sign to create a new block
- Choose the Classic block
You will now have a classic editor style block within the Gutenberg editor.

Using the classic block is a great way to use the classic editor without having to disable Gutenberg.
Using the Classic Editor Instead of Gutenberg
Now that you have the Classic Editor plugin installed, you can enable it for all users or allow them to choose the editor they want. We will now show you how to select the Classic Editor in your WordPress Dashboard.
- In your WordPress Dashboard go to Settings, then Writing.
- Next to “Default editor for all users” choose what editor you want your contributors to have. Options are Classic Editor and Block Editor.

- Choose if you want to “Allow users to switch editors.”

- If you let users switch editors, they will see options to “Edit (Block Editor)” or “Edit (Classic Editor)” when accessing Pages or Posts.

- Click the Save Changes button. You are finished when you see a “Settings Saves” message.
Well done! You know how to use the classic editor in the current version of WordPress. If you have any questions or comments feel free to drop them below.
Seems to me that WordPress requires a pricey “Business Plan” in order to use Plug-Ins, which would be something worth mentioning in this article. That’s the notification I receive, in any case, when I have tried to install plug-ins in a WP site with premium account.
I know where you’re coming from: this actually comes down to the difference between the two WordPress sites: the ‘.com’ is a paid hosting company while the ‘.org’ (and the software it represents) are a free and open-source piece of software anyone can use. You’re free to install whatever you like on a WordPress site you host and set up yourself as long as you have the right to use the software– which includes many free plugins!
Ronnie, this article is about wordpress.com. It costs $300 a year to install a plug-in on this “free” site.
No, this is about having your own free WordPress.org website installed on your web server.