
ProxMox is a free-to-use Linux-based virtualization operating system that allows you to create virtual systems and gives you much greater flexibility. It also allows you to use multiple Bare Metal Dedicated Servers as separate nodes and even run it in a high-availability mode, which keeps clones of your virtual machines on multiple nodes. This allows the containers to start up on another node if the one running goes down for any reason.
Using a virtualization system that enables you to run multiple virtual systems on your server makes it so you can isolate different systems and have multiple server instances running from a single physical server.
How to Install ProxMox
- To start, you will need to have Debian 10 (Buster) installed on your server. If you would like this installed on your Dedicated Server, please contact support and request that our data center install Debian 10 (Latest Stable) on your Dedicated Server. Please note – this will wipe your server and all data will be lost.
- Once the OS has been installed, the next step is to log into your server as root and add the ProxMox repository to your server using this command:
echo "deb http://download.proxmox.com/debian/pve buster pve-no-subscription" > /etc/apt/sources.list.d/pve-install-repo.list
- The next step is to add the repository key.
wget http://download.proxmox.com/debian/proxmox-ve-release-6.x.gpg -O /etc/apt/trusted.gpg.d/proxmox-ve-release-6.x.gpg
chmod +r /etc/apt/trusted.gpg.d/proxmox-ve-release-6.x.gpg # optional, if you have a non-default umask - Install Ifupdown2 as ProxMox uses this to manage network settings:
apt-get install ifupdown2
This may cause the server to become unresponsive after installation starts. If this is the case, please wait 10 minutes and restart the server. You may need to contact support to request a restart of the server.
- For users not using an InMotion server, check to see if network-manager is installed:
systemctl status network-manager
If it is, please uninstall network-manager. - Then, you will want to run the update and upgrade function so ProxMox will install. This process upgrades software and the kernel to the ProxMox versions.
apt update && apt full-upgrade
- Now, install the ProxMox VE Packages.
apt install proxmox-ve postfix open-iscsi
- OPTIONAL: Remove the Debian kernel.
apt remove linux-image-amd64 'linux-image-4.19*'
- If removing the Debian kernel, update grub.
update-grub
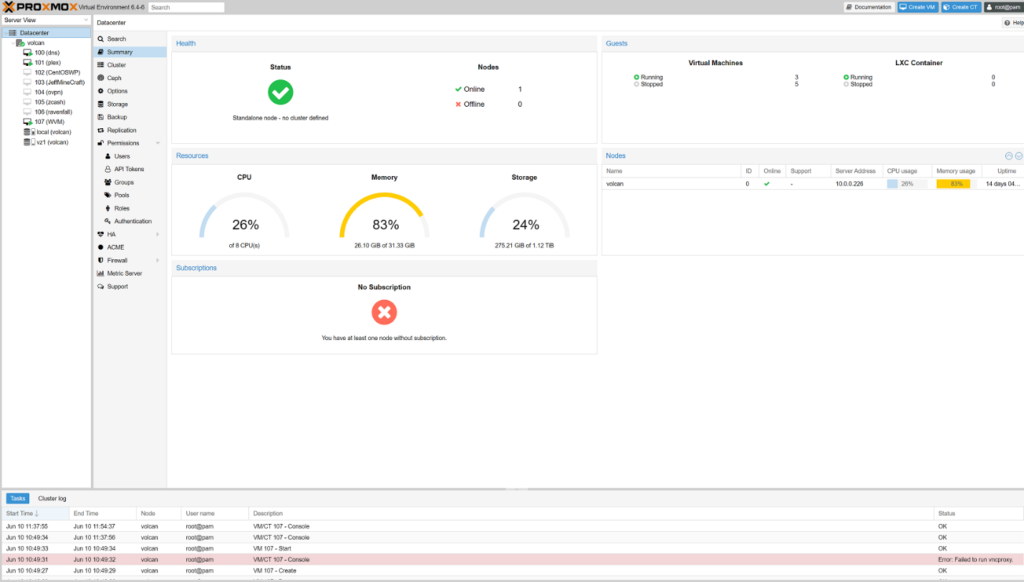
- Reboot the system at this time. Once the system is back up, you will be able to access the ProxMox control panel at https://youripaddress:8006. Note, you must use HTTPS, if you attempt to only use HTTP, it will not load.
- Log in with the root user and the root password using “PAM Authentication”.
- Once logged in, create a Linux Bridge called vmbr0, and add your first network interface to it.
Congratulations, you can now turn your Dedicated Server into a VPS node using ProxMox!
Comments
It looks like this article doesn't have any comments yet - you can be the first. If you have any comments or questions, start the conversation!