To set up your CentOS 7 web server, the first thing you need to do is install a web server program such as Apache. This program will act as a handler for your incoming and outgoing data and allow users to connect to your web server. While there are a number of different web server software options, Apache is one of the most commonly used. In this guide, we will cover how to install Apache on a CentOS 7 server via SSH. Please note that you will require root access to complete this guide.
Topics Include:
Install Apache on your Dedicated Hosting server to start building your online presence today!
Installing Apache
- Before you can install Apache, you will want to make sure the package is fully-up-to-date. To to do this, run the following command:
$ sudo yum update httpd
- Once the package has been updated, start the installation process with the following command:
$ sudo yum install httpd
At two different points you will be prompted to press a key to confirm. Press the Y key and hit enter both times. - Once the installation process has finished, you will need to start the Apache service. To do this, run the following command:
$ sudo systemctl start httpd
- To confirm that Apache was installed successfully, check the service status by running the following command:
$ sudo systemctl status httpd
- The output will tell you whether or not the service is running as well as other details about its performance. If the output says Apache is active, that means your Apache installation was successful.
Managing Apache
Restart Service
Occasionally, making changes to your server may require restarting Apache services. To do this, run the following command:
$ sudo systemctl restart httpd
Reload Service
To restart the Apache service without dropping current connections, run the following command:
$ sudo systemctl reload httpd
Manage Apache on your Dedicated Hosting server to give your users a secure and reliable experience!
Installing firewalld and Opening Ports
Before Apache can accept connections over the public internet, you will need to install the firewalld service and open the firewall ports commonly used for internet traffic.
- First, install firewalld via the following command:
yum install firewalld
The installation will prompt you to input a key to continue. Press the Y key and hit enter. - Next, open up HTTP traffic on Port 80 via the following command:
sudo firewall-cmd --permanent --add-service=http
If you want to enable connections via the HTTPS protocol, use the following command to open Port 443:sudo firewall-cmd --permanent --add-service=https
- Last, restart the Apache service with the following command:
sudo systemctl restart httpd
Your firewall should now be configured and listening for connections over HTTP and HTTPS.
Testing Apache
In order to confirm that Apache was installed and configured properly, you will want to perform a quick test. This will make sure that your server is capable of accepting connections over the public internet.
- 1. First, you need to find the server’s IP address, to do this, run the following command:
hostname -I
- Next, input the IP address into your web browser with the https:// protocol as follows:
https://12.34.567.89
- Your browser should then take you to the following splash page:
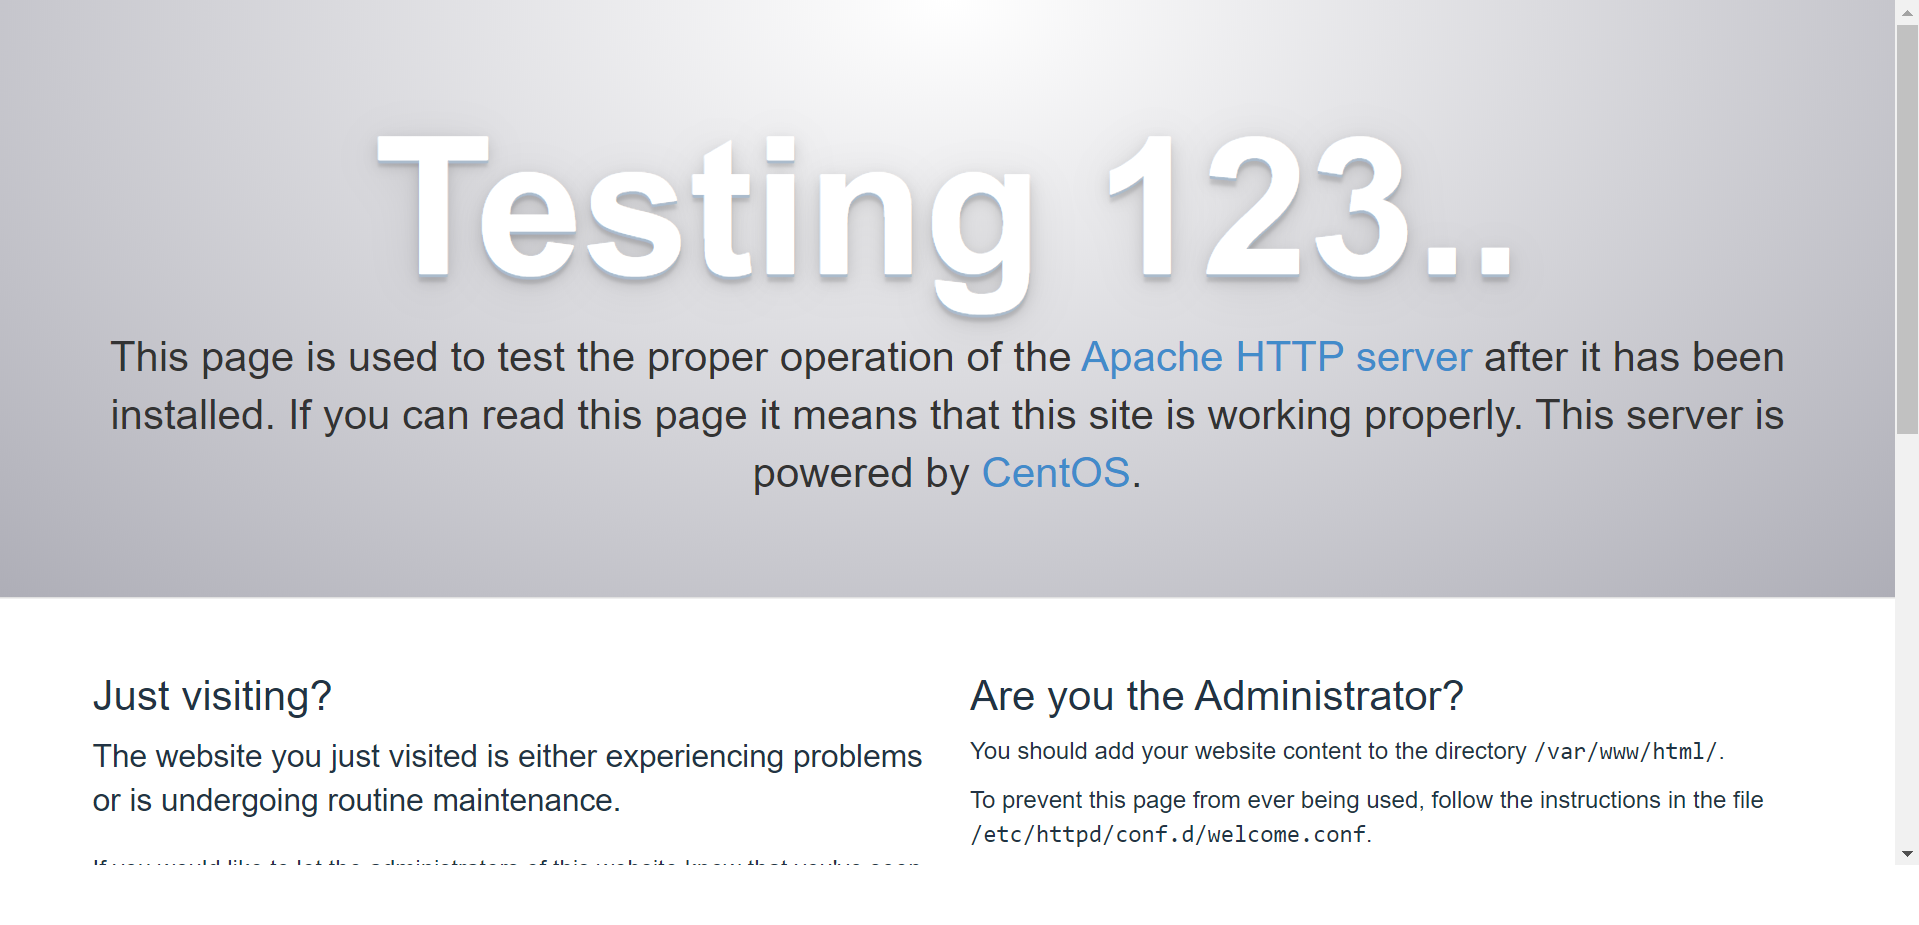
Congratulations, you have now learned how to install Apache on your CentOS server!
Comments
It looks like this article doesn't have any comments yet - you can be the first. If you have any comments or questions, start the conversation!