This article will cover the important configurations you can make in the Localisation tab under the WHMCS General Settings. These steps will apply for VPS, reseller, as well as dedicated web server hosting.
To access your Localisation tab just follow the steps below:
- Login to your WHMCS Admin
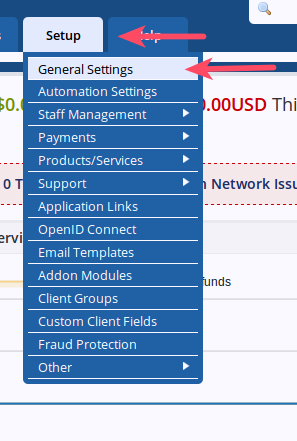
Hover over Setup and choose General Settings
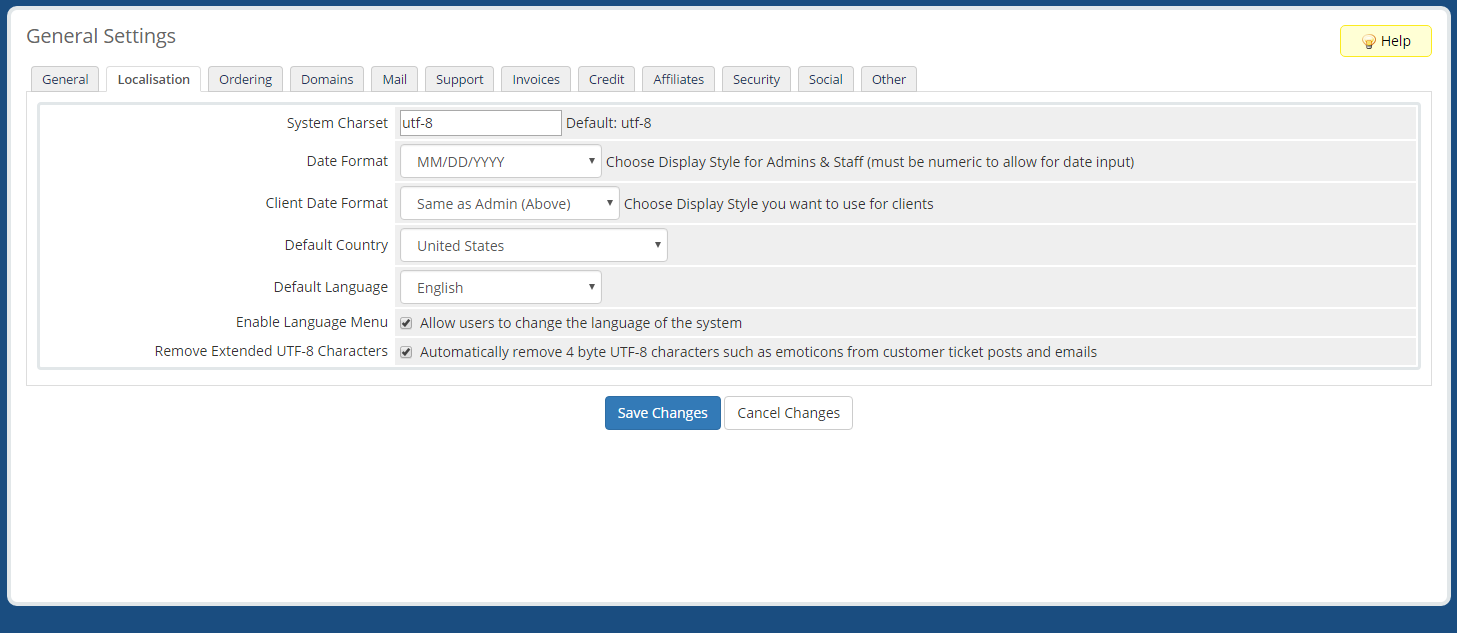
Choose Localisation
- Fill in the settings:
System Charset: Default: utf-8 Date Format: Choose Display Style for Admins & Staff (must be numeric to allow for date input) Client Date Format: Choose the display style for the date you want your clients to use Default Country: Select your default country Default Language: Select the default language Enable Language Menu: Check this to allow users to change the language of the system Remove Extended UTF-8 Characters: Check this box to automatically remove 4 byte UTF-8 characters such as emoticons from customer ticket posts and emails 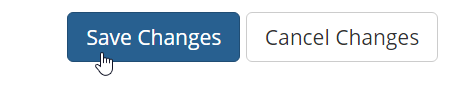
Click Save Changes
Now that you have gone through the Localisation options you are ready to proceed to the Ordering tab.
Comments
It looks like this article doesn't have any comments yet - you can be the first. If you have any comments or questions, start the conversation!