Likely the most important program you will use as a reseller is WHMCS. Follow along below as we demonstrate how to install WHMCS into your reseller account using the Softaculous install tool.
Installing WHMCS using Softaculous
- Log into your cPanel interface.

Locate and click on the Softaculous installer tool in the Software/Services category.
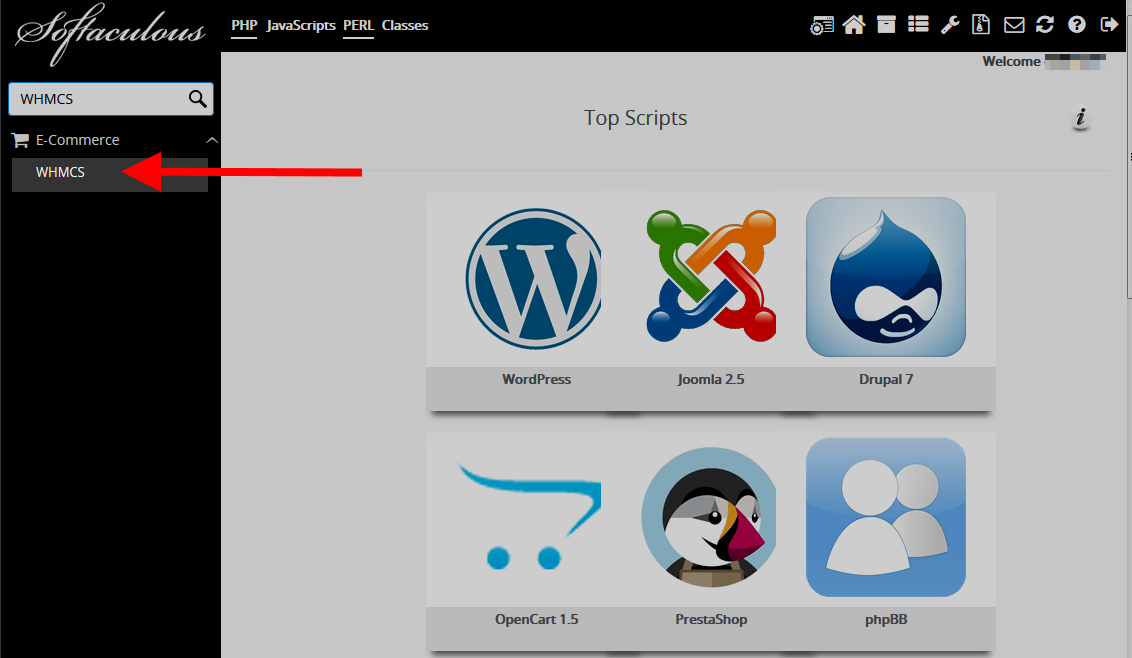
Once in the Softaculous tool, type in “WHMCS” in the left hand sidebar search tool. Then click on the WHMCS option.
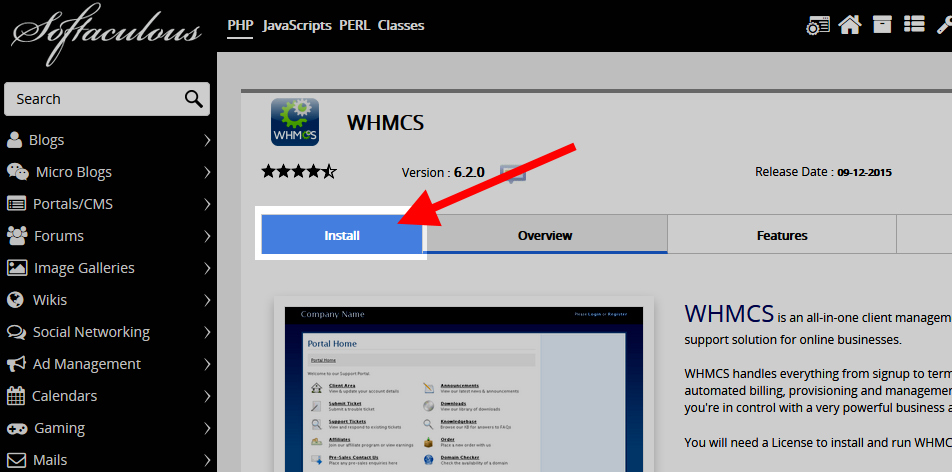
From the WHMCS page, click on Install.
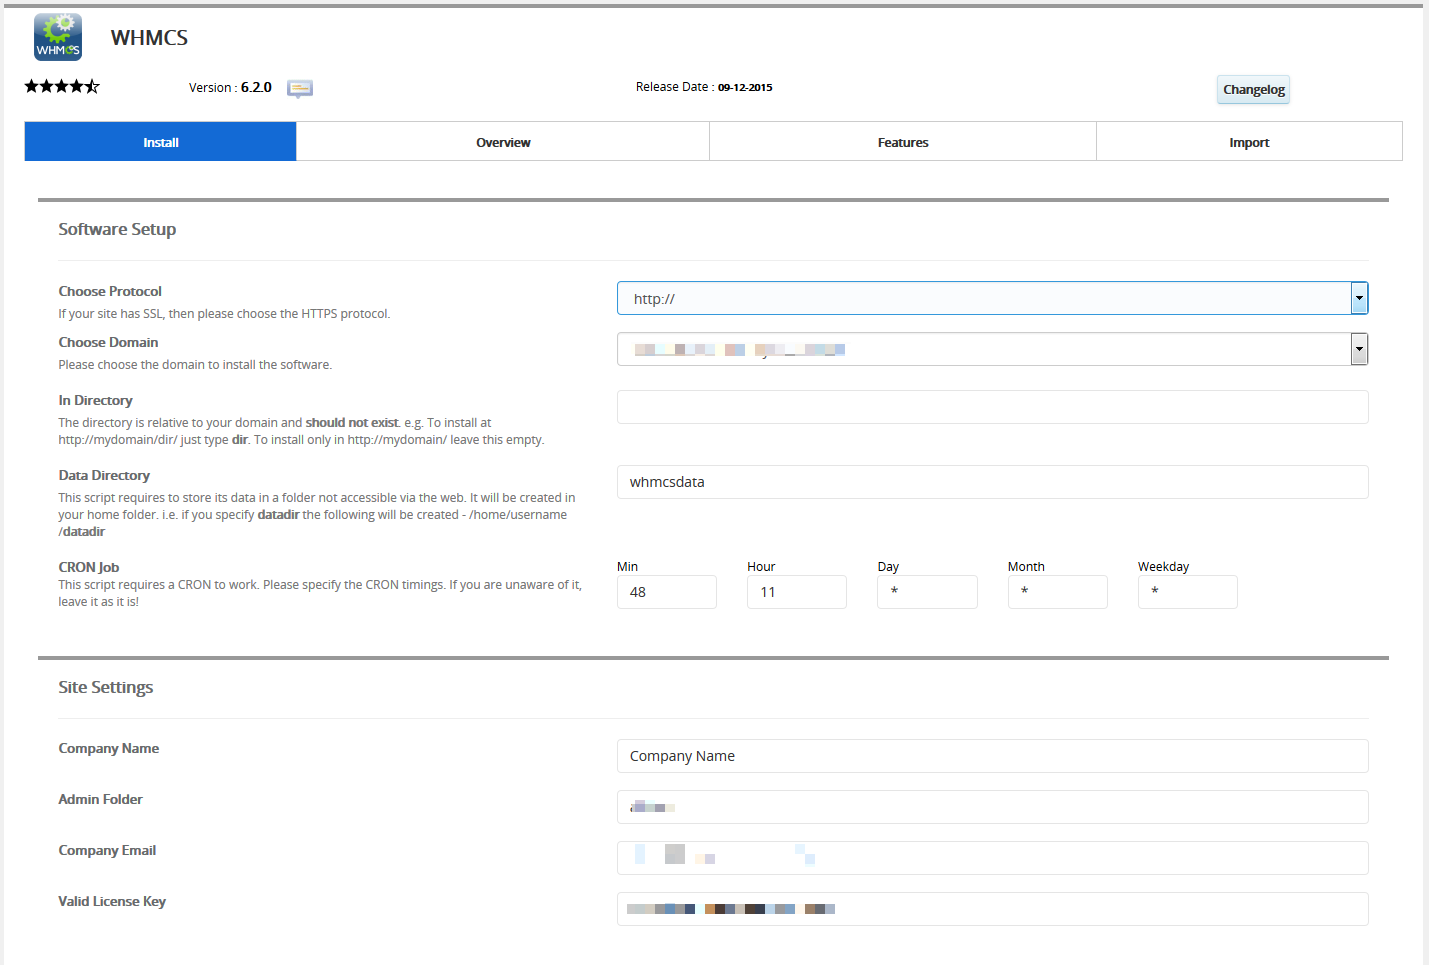
You will need to fill out the intall form with specific information. Be sure to read and follow the directions for each field. You will need your license key to complete the form.
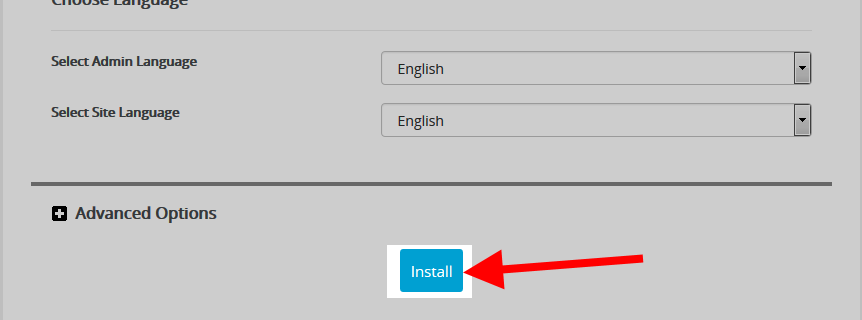
Once the form is completed, click on the Install button.
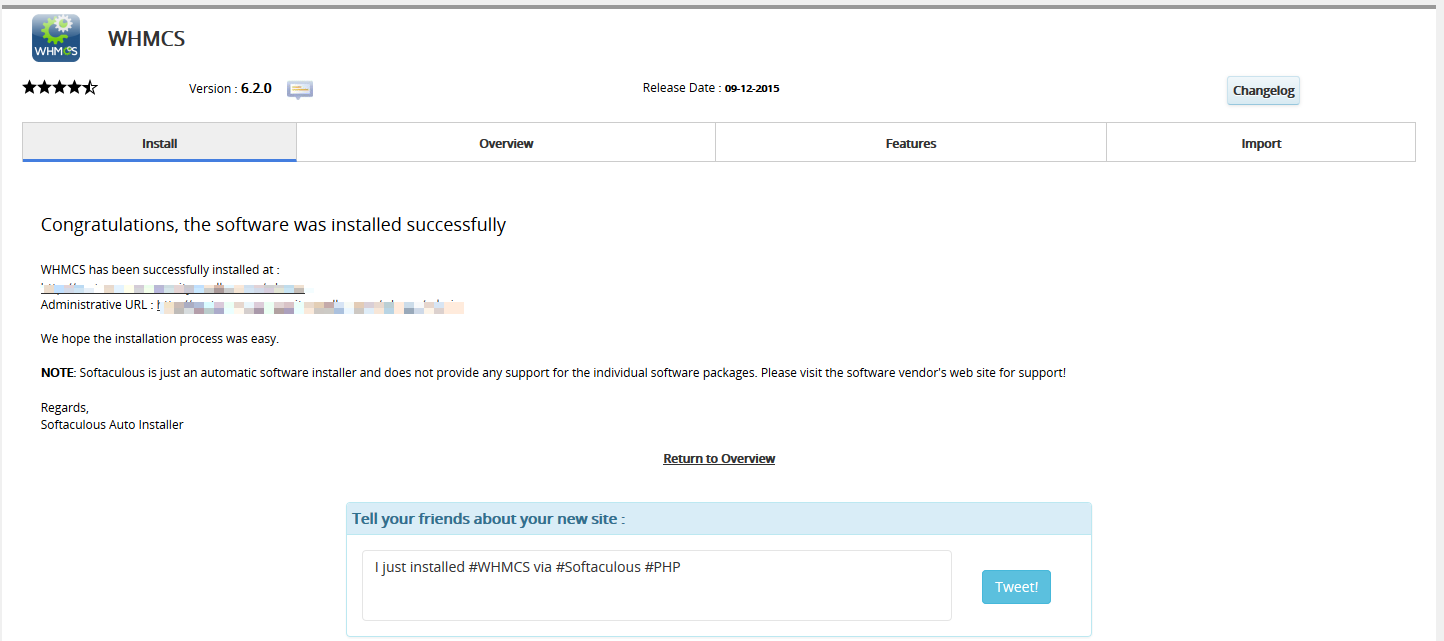
The program will now install. Once completed, it should give you a message of a successful installation.
Now that you have installed WHMCS, you are now ready to log in for the first time!
Hello Amanda!
I am going to install it in a subdomain, like billing.mydomain.com. This makes things easier to manage 😉
Thank you!
Hello, this all seems straightforward. My question is, would it be better to have WHMCS in the same directory as WordPress (or whichever CMS we use) or in a dirrefent directory? Or subdomain?
What would be the best protocol for this?
Many thanks
Amanda
Hello Amanda,
In general, you’d want to have them in separate folders because of how you will address them in the browser. So, if your domain was example.com and you wanted to reach WHMCS, you might have a URL like this: example.com/whmcs. If the WP installation was not installed at the root, then the URL might look like this: example.com/wpblog.
In my opinion this may be the best way to handle the issue. If you have any further questions or comments, please let us know.
Regards,
Arnel C.