With your reseller account, you have the ability to set up custom nameservers. This means your customers can point their domains to your hosting account with your unique branding. Instead of using the InMotion Hosting default nameservers, your customers can use your custom nameservers. This procedure also works for dedicated hosting services and VPS reseller accounts.
Create the Nameservers as A Records
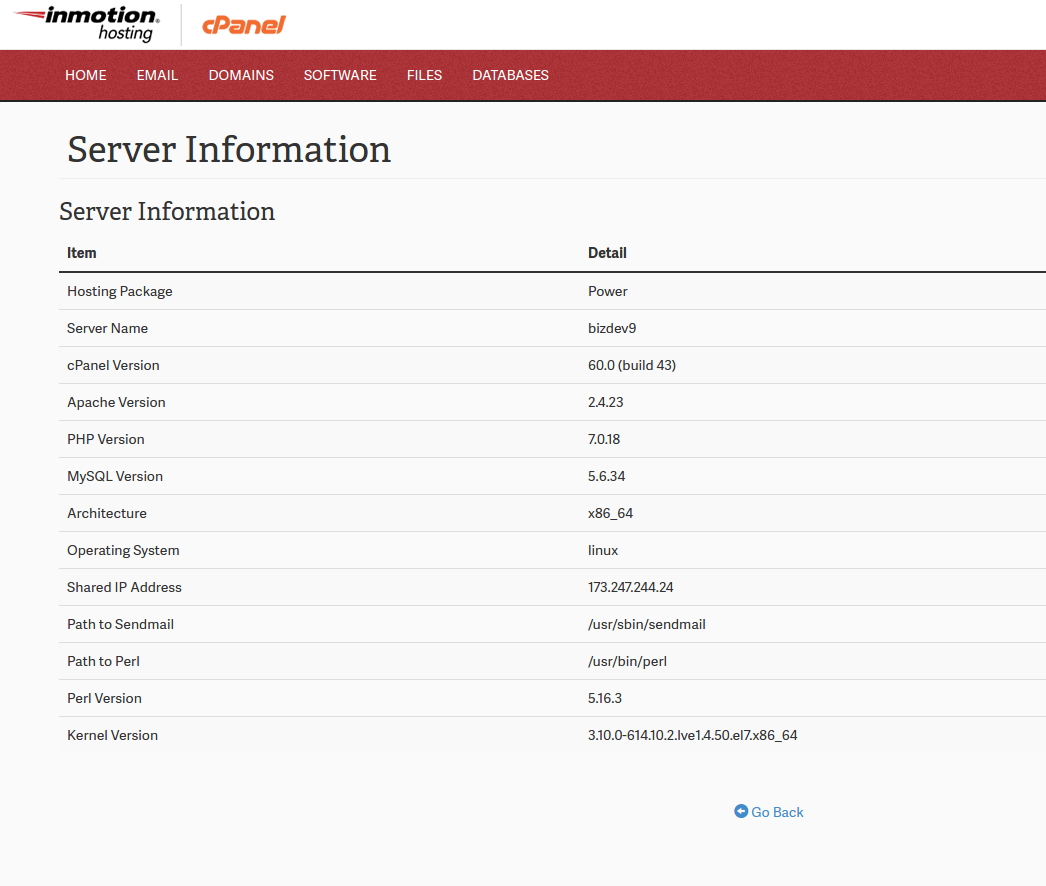
- Log into your cPanel for the domain you want to edit.
- Write down your server IP address since you will use it later.
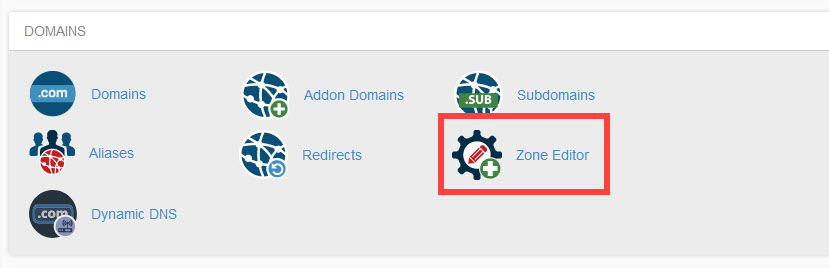
- Under Domains select Zone Editor
- Look for and select the domain name that you’re trying to create the custom nameservers for, then click on Manage.
- Create new A records for your nameservers
Field name Example Name Enter the nameserver information, ns1.example.com TTL You can enter any positive number here, but the standard is 14400 Type Select A Address Enter your IP address
Activate Nameservers with Registrar
If you have your domain registered through your InMotion Hosting account you can complete this step through your Account Management Panel (AMP). If your domain is not registered with your account here and you are using a third-party registrar, you will need to contact them directly to step up glue records. You will need to provide them the IP address you wrote down previously.
Activating Your Custom Nameservers in AMP
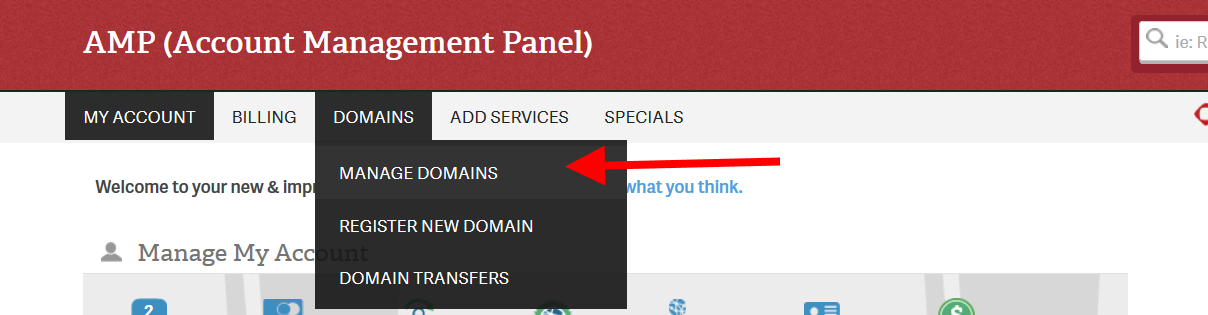
- Log into AMP
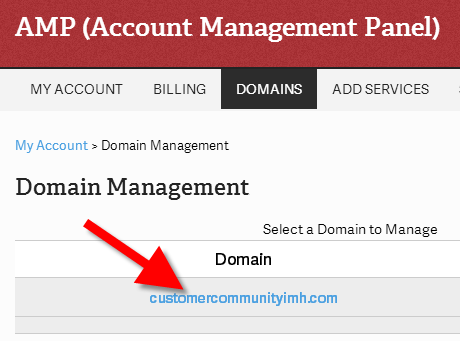
- Under Domains choose Manage Domains
- Choose the domain you want to manage
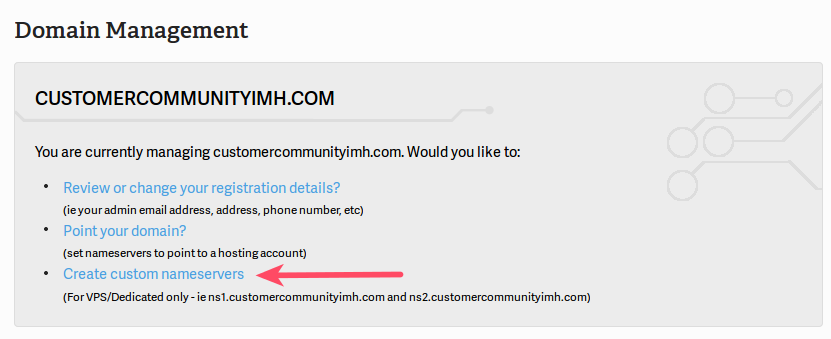
- Select Create Custom Nameservers
- Under Host Name: enter your custom nameserver information
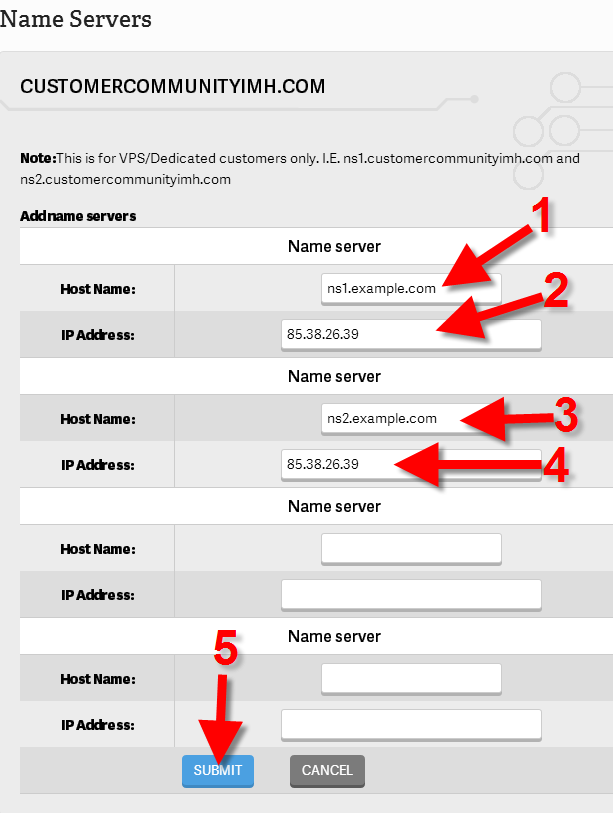
- Under IP Address: enter your IP address
- Repeat for your secondary nameserver Host Name. (ns2.example.com)
- Click Submit
Assigning Nameservers in WHM
- Log into WHM
- Choose Server Configuration from the left side panel and select Basic cPanel & WHM Setup
- Enter your nameserver hostnames in the fields under Nameservers
If you’re in a Shared Reseller you will see this interface:
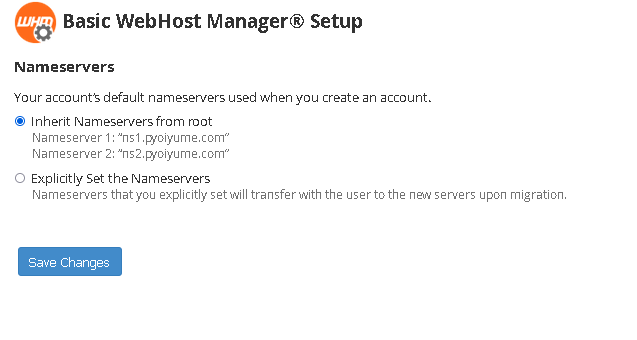
If you’re in a VPS or Dedicated Server, then your interface will look like this:
To learn more about cPanel and WHM, check out our cPanel Education channel.
6 Comments
Was this article helpful? Let us know!
- Enter your nameserver hostnames in the fields under Nameservers
I’ve domain name with Google Domains. Can you share any article to setup Custom/Vanity name servers with Google Domain and Inmotion reseller account?
Hi Faisal, here are a couple article you might find helpful:
How to Set Up Custom Nameservers for Resellers: https://www.inmotionhosting.com/support/product-guides/reseller-hosting/how-to-set-up-custom-nameservers-for-reseller-server/
Vanity Nameservers: What are they and how do I set them up?: https://www.inmotionhosting.com/support/domain-names/dns-nameserver-changes/vanity-nameservers-what-are-they-and-how-do-i-set-them-up/
Manage Domain Name Servers: https://support.google.com/domains/answer/3290309?hl=en
Using Custom Nameservers as a Reseller: https://www.inmotionhosting.com/support/product-guides/reseller-hosting/custom-name-server/
Kindest regards,
Sam
Hi there. I have setup as you suggest 2 A records in the cPanel then changed nameservers in my registrant. But both 2 records ns1.domain.com and ns2.domain.com got same IP Since I got 2 different dedicated IP in my reseller, is there a way to use those IP instead the shared one from you? Thanks!
It is possible to use different IPs for each nameserver, but they would be pointing to the same server, unless you had a different reseller server to point the additional IP to.