The row and stack blocks are important design elements that can be interchangeably used for both the site and template editor and page or post editor in the WordPress Full Site Editing system.
Rows allow you to group blocks horizontally. This is similar to using the columns block but without the automatic size adjustment to the column. You may use this for a variety of reasons in either your templates or content posts/pages.
Stacks allow you to group blocks vertically. Stacks and rows allow you to group and organize various types of content so that you can present it to your viewer.
This tutorial will walk you through how to use each option in the editor and describe the options provided with the block.
Note that we are using WordPress version 6.0 and the Twenty Twenty-two theme for this tutorial.
Using the Row or Stack Block
Using a row or stack is very simple. You just add the design block before your group of blocks that you’re going to set up as a row or stack.
- Log in to the WordPress Administrator Dashboard.
- Create a new post, page, template, or template part; or edit an existing one.
- To add a row block, click on the + sign to add a block or toggle the block inserter (blue button in the top left corner).
- Type “row” in the search field, or scroll to the Design section and select row.
- The row block will be added. To add blocks in your row, click on the + sign in the first block, then select the block type you want to add.
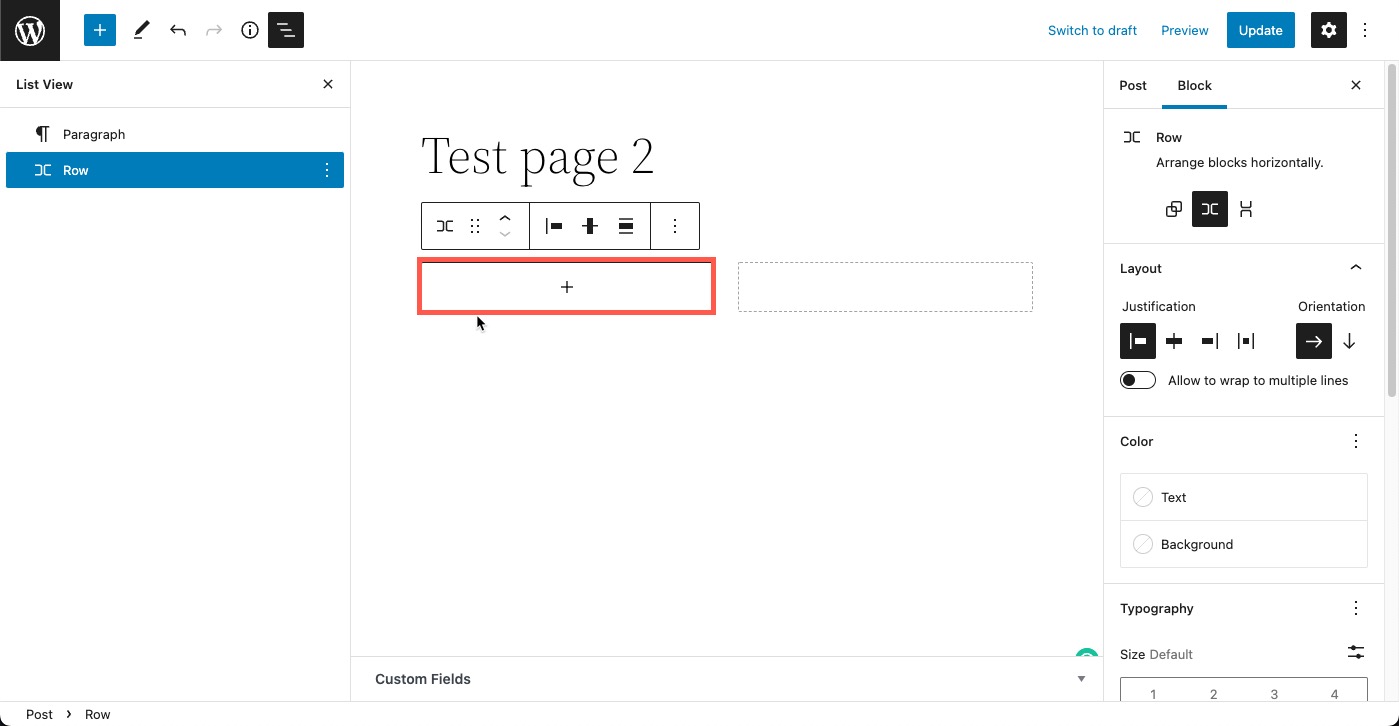
- Continue adding blocks by clicking on the plus sign in the row. You can see the + sign in the screenshot below. You can also click on the 3-vertical dots in the list view after the first block, and select Insert after to add a block in that row.
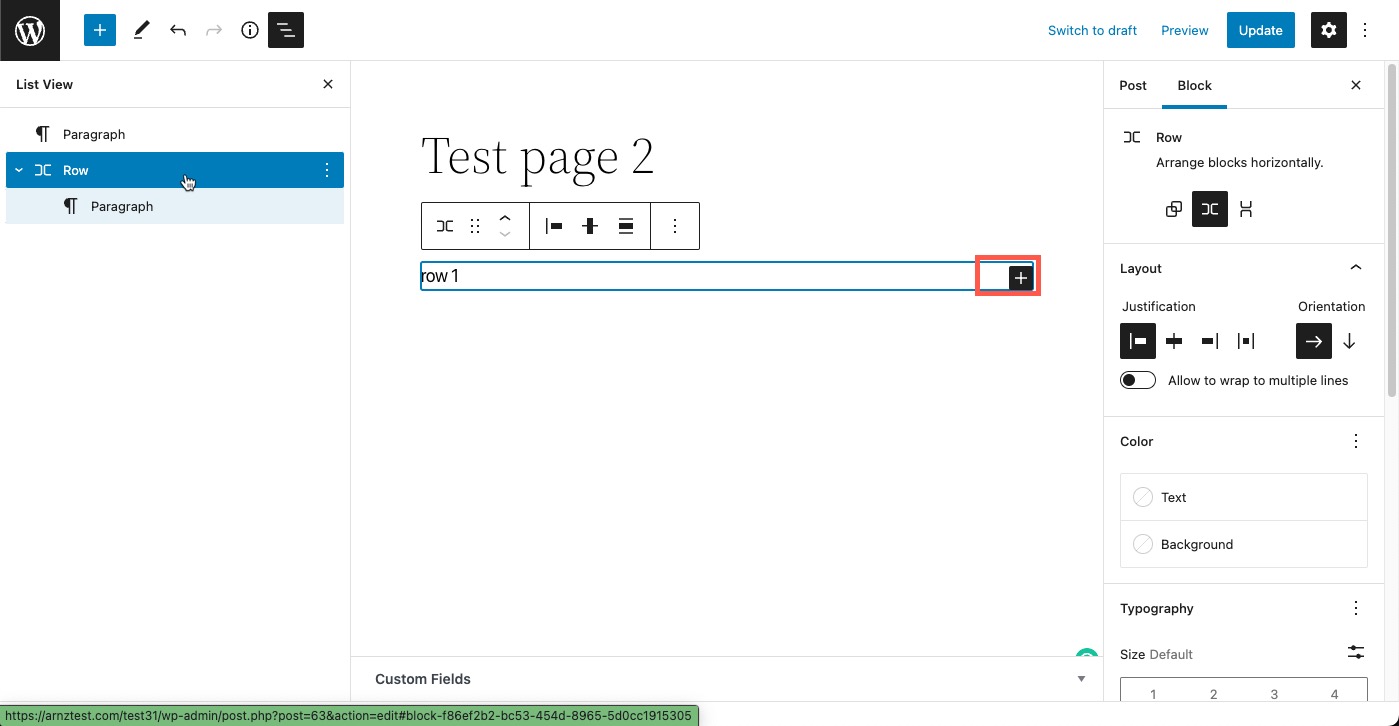
- Click on the save options in the top right corner of your editor. The site editor will ask you to confirm what you’re saving. Simply click on the blue Save button again to confirm. The post editor will give you the option of Save Draft, Publish, or Update.
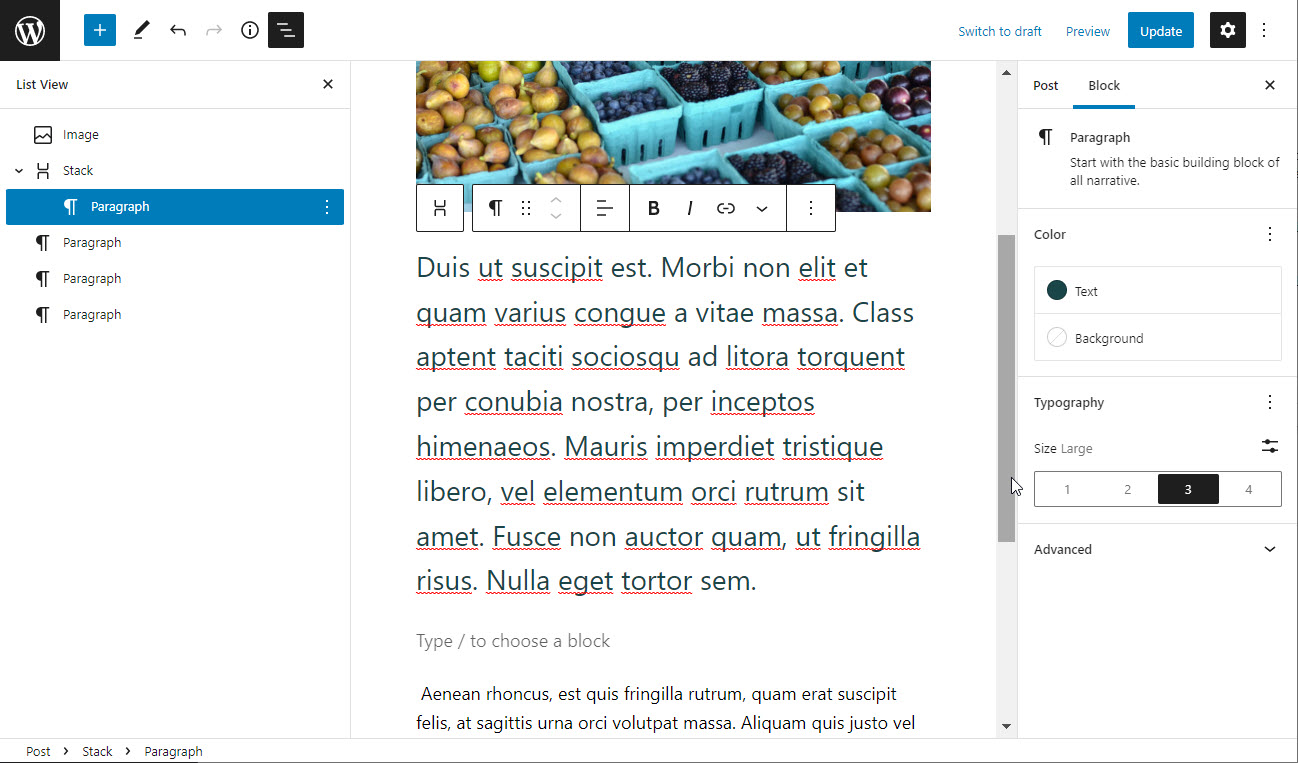
To see an example of a row (or stack) and how the blocks look after they’re added, it’s best to use the List View option in the top left corner of the editor. That way you can see the blocks and how they are organized. Here’s an example:
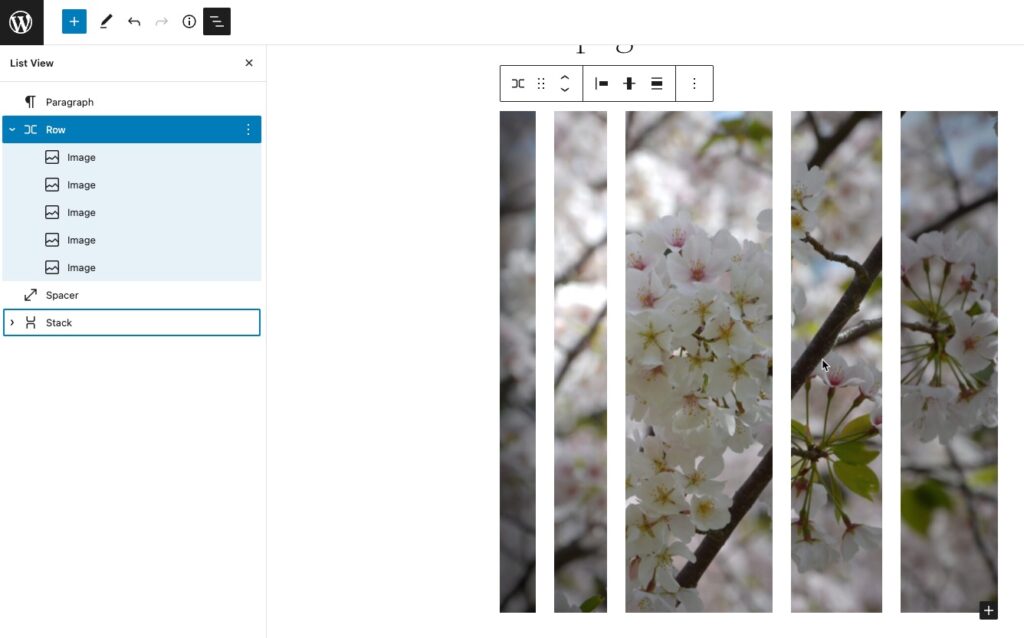
In the screenshot above you can see the row block and then a set of images after it. You can see the effect of using the row with the images. This is one way you can use the row block.
Adding a Stack
The steps for adding a stack are the same as above but the main difference is that you’re adding a stack instead of a row.
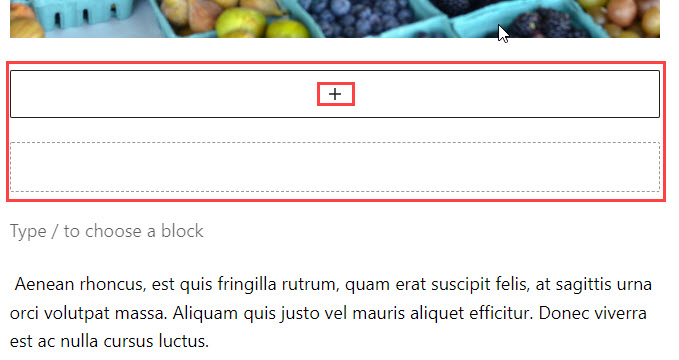
- When you add a stack, you’ll see the empty stack block, like the screenshot below. Click on the + sign to add a block.
- Open the list view option in the top left corner of the editor.
In this example, I will add a paragraph, then paste some text into it. It will look like the screenshot above. Note that when you place stacks of text, it’s sometimes difficult to tell the stack apart from other text blocks that may be a part of your post.
The list view option allows you to see the paragraph blocks and how they’re grouped. Stack blocks are grouped under the stack.
You can also change the color of the font and the size of the font if you wish to make the blocks easier to organize when they’re in a stack. - To add a block to a stack, go into the list view and click on Stack.
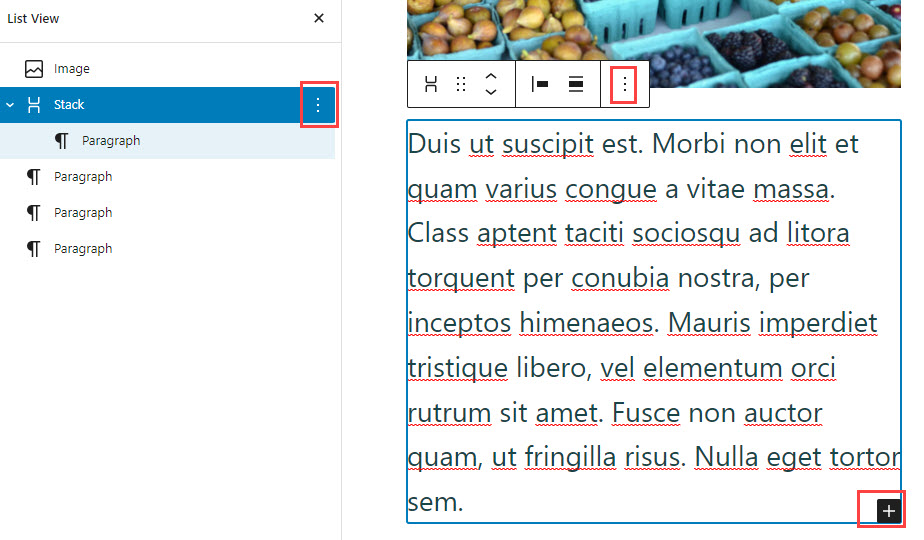
You will see the stack outlined in the editor and the + sign in the bottom right-hand corner. You can also select the 3-vertical dot menus in either the list view or the editor to add a block after the one you just added. - Click on Update, Save Draft, or Publish in order to save your work when you’re finished adding your content to the stacks.
Options and Settings for the Row or Stack Block
To see the row/stack toolbar, click on the row or stack. There are also block properties that can be seen in the column on the right side of the screen. Each option from the toolbar and properties column is described below.
Toolbar Options
| Position row with drag and drop or up and down arrows | |
| Justify items left, center, right, or have space between items | |
| Vertical alignment to top, middle, or bottom. Not available in stack block. | |
| Labeled as “alignment” but sets width as none, wide (max 1000 px), or full width |
Block Properties
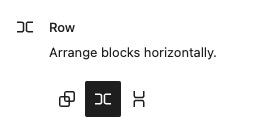 | Allows to select Row, stack, or create a group of blocks. |
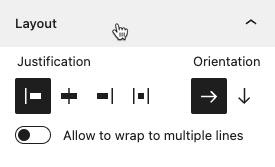 | Justification – allows you to set the justification and orientation of the items in the row or stack. |
Block Orientation – A row and stack block is basically the same block and is determined simply by the orientation of the blocks. There is an orientation option in the block properties that will change the row to a stack or vice versa depending on its position.
Allow to wrap to multiple lines – Option enabled by the slider to allow for text wrapping in the row. The text wrap crosses the different blocks in the row.
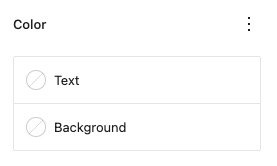 | Color – This option allows you to set the color for the text and/or background in the row/stack. |
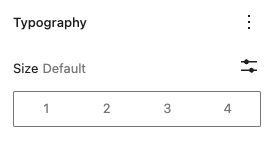 | Typography – This option allows you to set the size of the type used in the row |
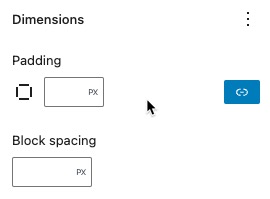 | Dimensions – Set the padding above the row and set the spacing between the rows |
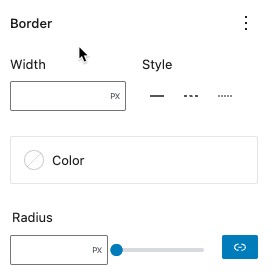 | Border – The border section allows you to set a border line around the row. You can set the color, width, and shape (using the radius option) |
The settings for the stack block are virtually the same as the row block. The main difference is the vertical alignment option in the layout justification.
Learn more about using the WordPress Full Site Editing system through the InMotion Hosting Support Center.
“
For the most secure WordPress site, you need secure hosting. That’s why InMotion Hosting created their own WordPress Hosting package with rigorous server-side security – so you can spend less time hardening your hosting and more time creating your website.
“
Comments
It looks like this article doesn't have any comments yet - you can be the first. If you have any comments or questions, start the conversation!