DNS —short for “Domain Name System”— includes the settings that enable your website and email to be found on the internet. When you are working with website accounts, it’s common to have a need to make changes to the DNS associated with the account. The easiest way to manage DNS for each website is through the cPanel Simple Zone Editor or Advanced Zone Editor. This tutorial will walk you through how to use these tools to make DNS Modifications.
Using the Simple Zone Editor
The Simple Zone Editor lets you add or remove simple records within your DNS. In order to make TXT entries or other record entries other than A records or CNAME records, you will need to use the Advanced Zone Editor.
- Login to the cPanel.

Scroll down to the Domains section and click on Simple Zone Editor.
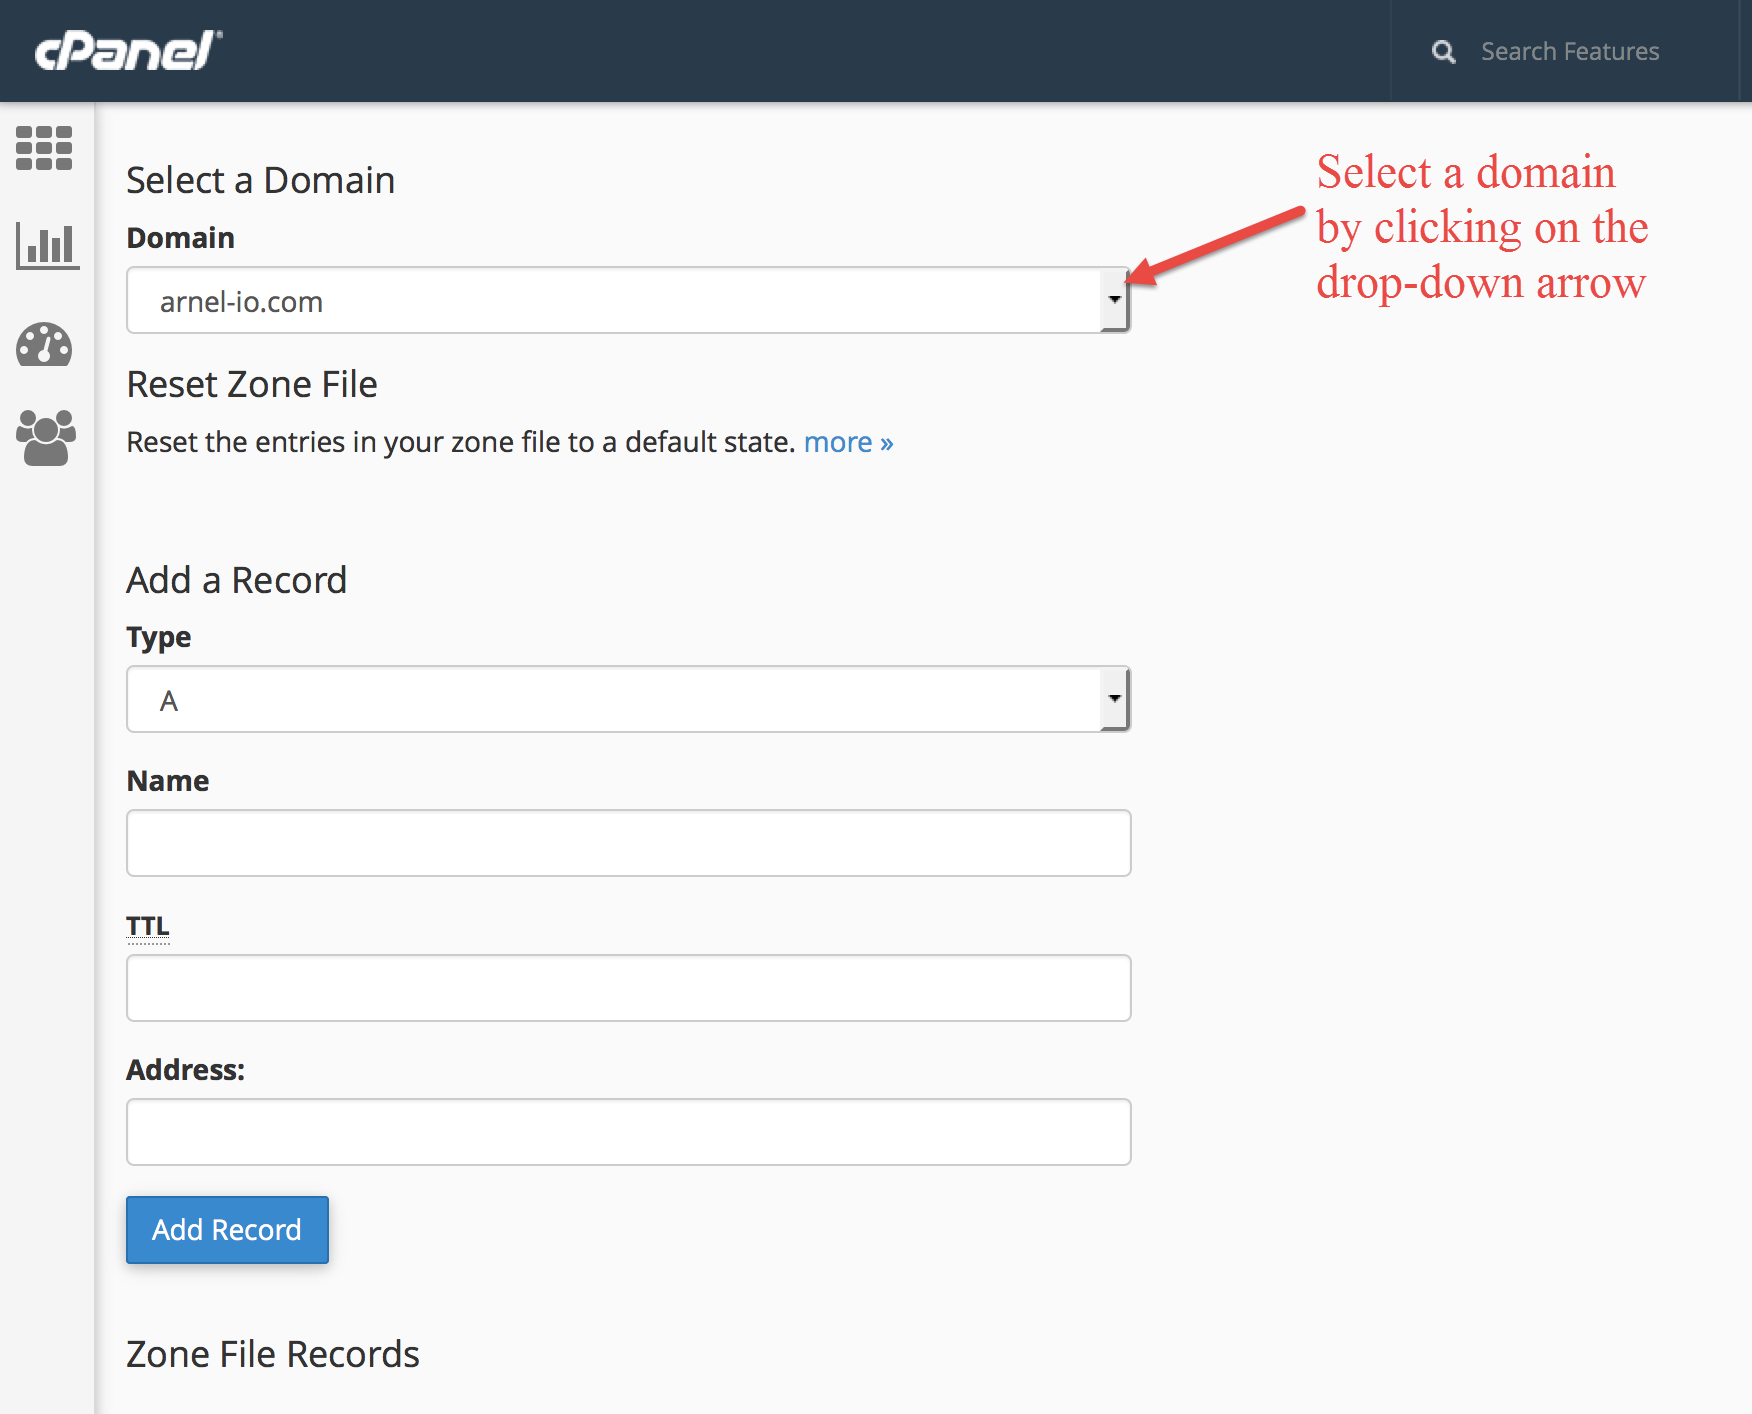
Select a domain.

Here you can add an A record or a CNAME record by filling in the blanks and then clicking on add for that record type. For more information see Adding a record in the Simple Zone Editor.
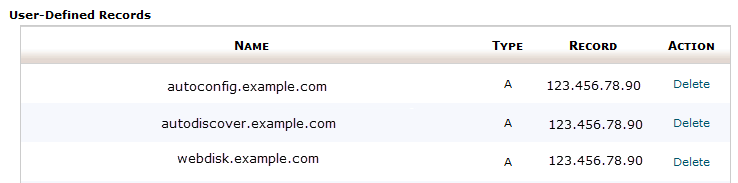
If you want to delete an existing record, scroll down to the Zone records towards the bottom of the page. Next to each record you will see an option to Delete. Click on Delete to remove a particular record.
Using the Advanced Zone Editor
The Advanced Zone Editor lets you add or make changes to records that are not available in the Simple Zone editor. You can add, modify and also reset the records for your DNS.
Adding DNS Records
Adding DNS records can involve many different types of entries. Each entry should be added with care to avoid possible mistakes. Changes to DNS records may take up to 24 hours until they are recognized on the internet.
- Login to the cPanel
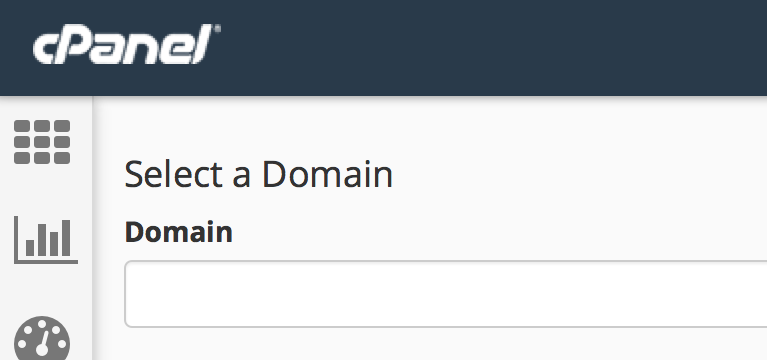
Select the Domain where you will be adding DNS records
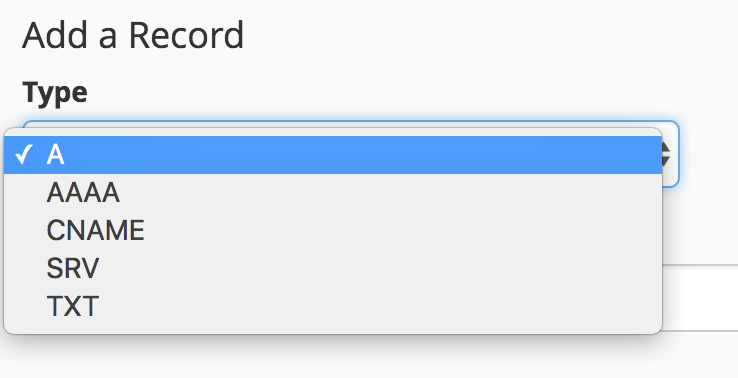
Select the Record type that you want to use by clicking on the drop-down menu
Use the table below to determine the record you wish to add to the DNS. Each record contains the following information:
Name Name your record. Be sure that it ends with your domain name and a period. Ex: record.inmotiontesting.com. TTL Time To Live. The record will exist on DNS servers around the world for this fixed amount of time. After it expires, they will need to recontact the server to reset the record. This is set in seconds, so 14400 is 4 hours, which is a good standard. Setting the TTL too low can have an adverse effect on the server. Type Choose from the drop-down. There are A records, CNAMEs, and TXT records. Address The server address that the record refers to. It can be set as an IP address, a domain name, or a subdomain. TXT records will be set as text set within quotes. - After you have completed adding all of the information for each field of your chosen record, click on Add Record
After you have completed adding a record, allow up to 24 hours for changes to complete.
Modifying or Deleting DNS Records
If you need to delete or add records, they will be listed at the bottom of the Advanced Zone Editor under Zone File Records. You will see the option to EDIT or DELETE the record in the table listing the Zone File records.
- Login to the cPanel
- Scroll down to the Zone File records
- Find the record that you want to modify or delete. Click on Edit or Delete in the right column corresponding with the DNS record you’re trying to change.
- Confirm the edit clicking on Edit if you are modifying a record, or confirm the delete by clicking on Delete for the record that you want deleted.
Resetting the Entries in the Zone Editor
The Advanced Zone Editor also includes the option to reset your zone records. You should only do this if you intend to remove all existing DNS entries for a particular domain. This is useful if you have a large number of records and you simply want to start over again.
- Login to the cPanel
- Select a domain
- Click on More in to start open the dialog for resetting the Zone file. The zone file is what contains your DNS records. Make sure to read the warning before proceeding to remove all of your records.
- Click on the check box to answer the question, “Are you sure you want to erase all entries and revert to the default state?”
- Click on Reset Zone File
Simple Zone Editor does not exist. Zone Editor does. Please update tutorial.